A Safe Zone is a defensive block that is used on multiplayer PvP servers. Players can set up a protective force field around their base to help limit[1] offline raiding damage. In Singleplayer, you could employ them to defend against PvE drone attacks. The block is expensive to build and maintain, and takes a few minutes to start up, so don't expect it to make your life too easy.
Non-Player Safe Zones[]
NPC Trading Outposts are protected by Safe Zones as well; they will automatically unlock docked players after a while, so nobody can hide permanently in the NPCs’ force fields.
Admins can also set up Safe Zones to protect e.g. spawn areas on a multiplayer server. These are not covered in this article, but they are described under Admin Screen.
Recipe[]
| Component | Large Ship/Station Required | Large Ship/Station Optional | Small Ship Required | Small Ship Optional |
|---|---|---|---|---|
| 120 | — | — | — | |
| 80 | — | — | — | |
| 5 | — | — | — | |
| 10 | — | — | — | |
| 180 | — | — | — | |
| 750 | 50 | — | — | |
Construction[]
A requirement for building Safe Zones is that Economy must be enabled in the World Settings because you need to trade with the NPCs for Zone Chips. Safe Zones can only be built on static station grids, and exist only for large grids. The block is quite large at 3x2x2 blocks (Width x Depth x Height), so optimally, place it in the center of your base to make use of the full range.
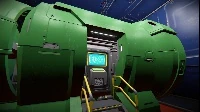
A Safe Zone block has only one access terminal with a customisable LCD surface in the front, but you can also hide the block and control the Safe Zone through the grid's terminal.
Be prepared to access the block's inventory regularly to recharge it with Zone Chips. Safe Zone blocks offer two conveyor ports through which they can pull Zone Chips from attached inventories: One conveyor port is on the back, opposite of the terminal, and the second conveyor port is underneath.
Who is allowed in and who is banned?[]
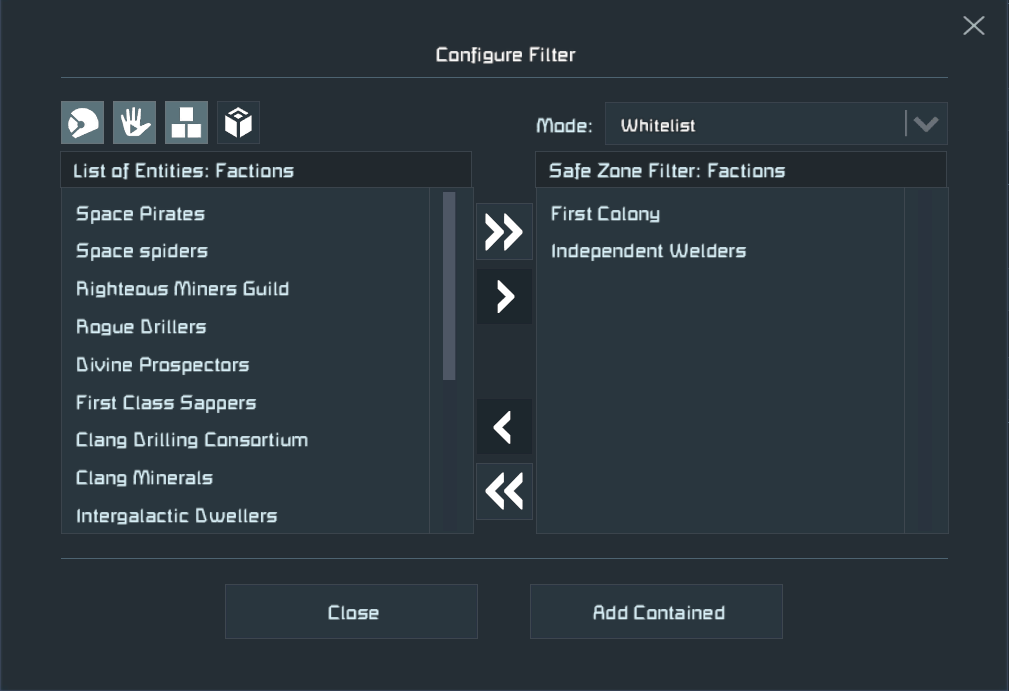
This is how to set it up. First, build the Safe Zone block on a station grid and power it and open the block's control panel.
- Under Enable, click On.
- Choose the Shape of the force field: spherical or cubical
- Choose the Range of the force field. For spherical, enter a diameter. For cubical, enter height/width/length. Minimum dimension is 10 m and maximum is 1000m. Larger costs more power.
- Click Configure Filter:
- On the left side, choose a category icon: Players, factions, grids, or floating objects.
- For each category, choose a Mode:
- In Whitelist mode, you list what in this category is allowed.
- In Blacklist mode, you list what in this category is banned.
- For each category, select players/factions/grids/items, and then click the arrows in the center to add them to the list.
Do not add yourself to a blacklist or you'll lose physical access to the zone range.
- For each category, choose a Mode:
- Finally, put a Zone Chip into the Safe Zone's inventory to activate it.
Tip: While all members and ships of your faction are docked inside the zone, select the category "grids", select "Whitelist", then click Add Contained. This is a shortcut to quickly add all contained ships to the chosen list in one step.
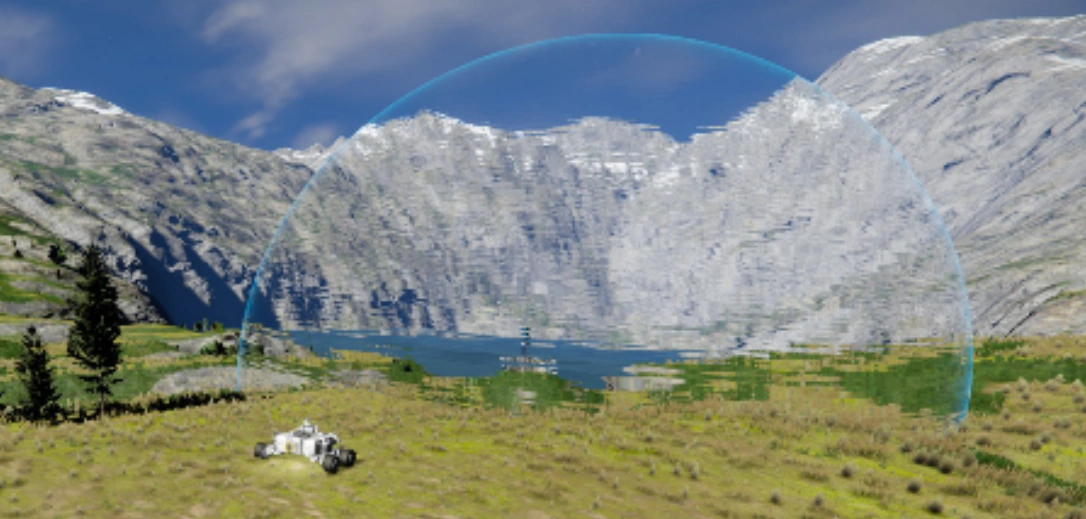
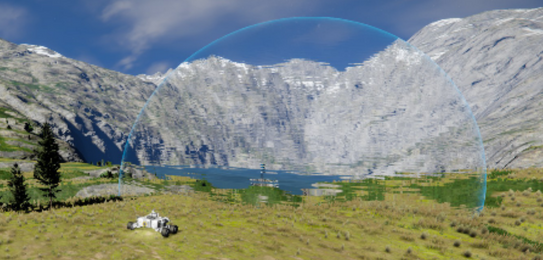
A station in the centre of a safe zone. An approaching player can identify the force field by its noticable distortion.
What are they allowed to do inside?[]
Next, regarding the players and grids and items that can come inside, specify what they are allowed to do. By default, all options are off and nothing is allowed.
- Allow damage?
- Allow shooting?
- Allow drilling?
- Allow welding?
- Allow grinding?
- Allow building?
- Allow projections?
- Allow voxel hands?
- Allow Landing Gear/Magnetic Plate lock?
- Allow conversion to station?
Tip: To disallow hacking, disallow grinding+welding.
What Are the Upkeep Costs?[]
The owning faction must power their Safe Zone and keep supplying its inventory with 1 Zone Chip per real-life hour. Zone Chips are also required as component to build the block. In contrast to players in Survival Mode, Admins and NPCs do not have to pay Zone Chips for upkeep, their Safe Zones never expire. The power drain of the Safe Zone is 5-300MW depending whether its size is 10-500 metres large.
Q: Why is my force field transparent and colorless, marked with regular white plus-signs and dots?
A: This skin indicates that the force field is configured and powered, but inactive. You need to input zone chips to activate it.
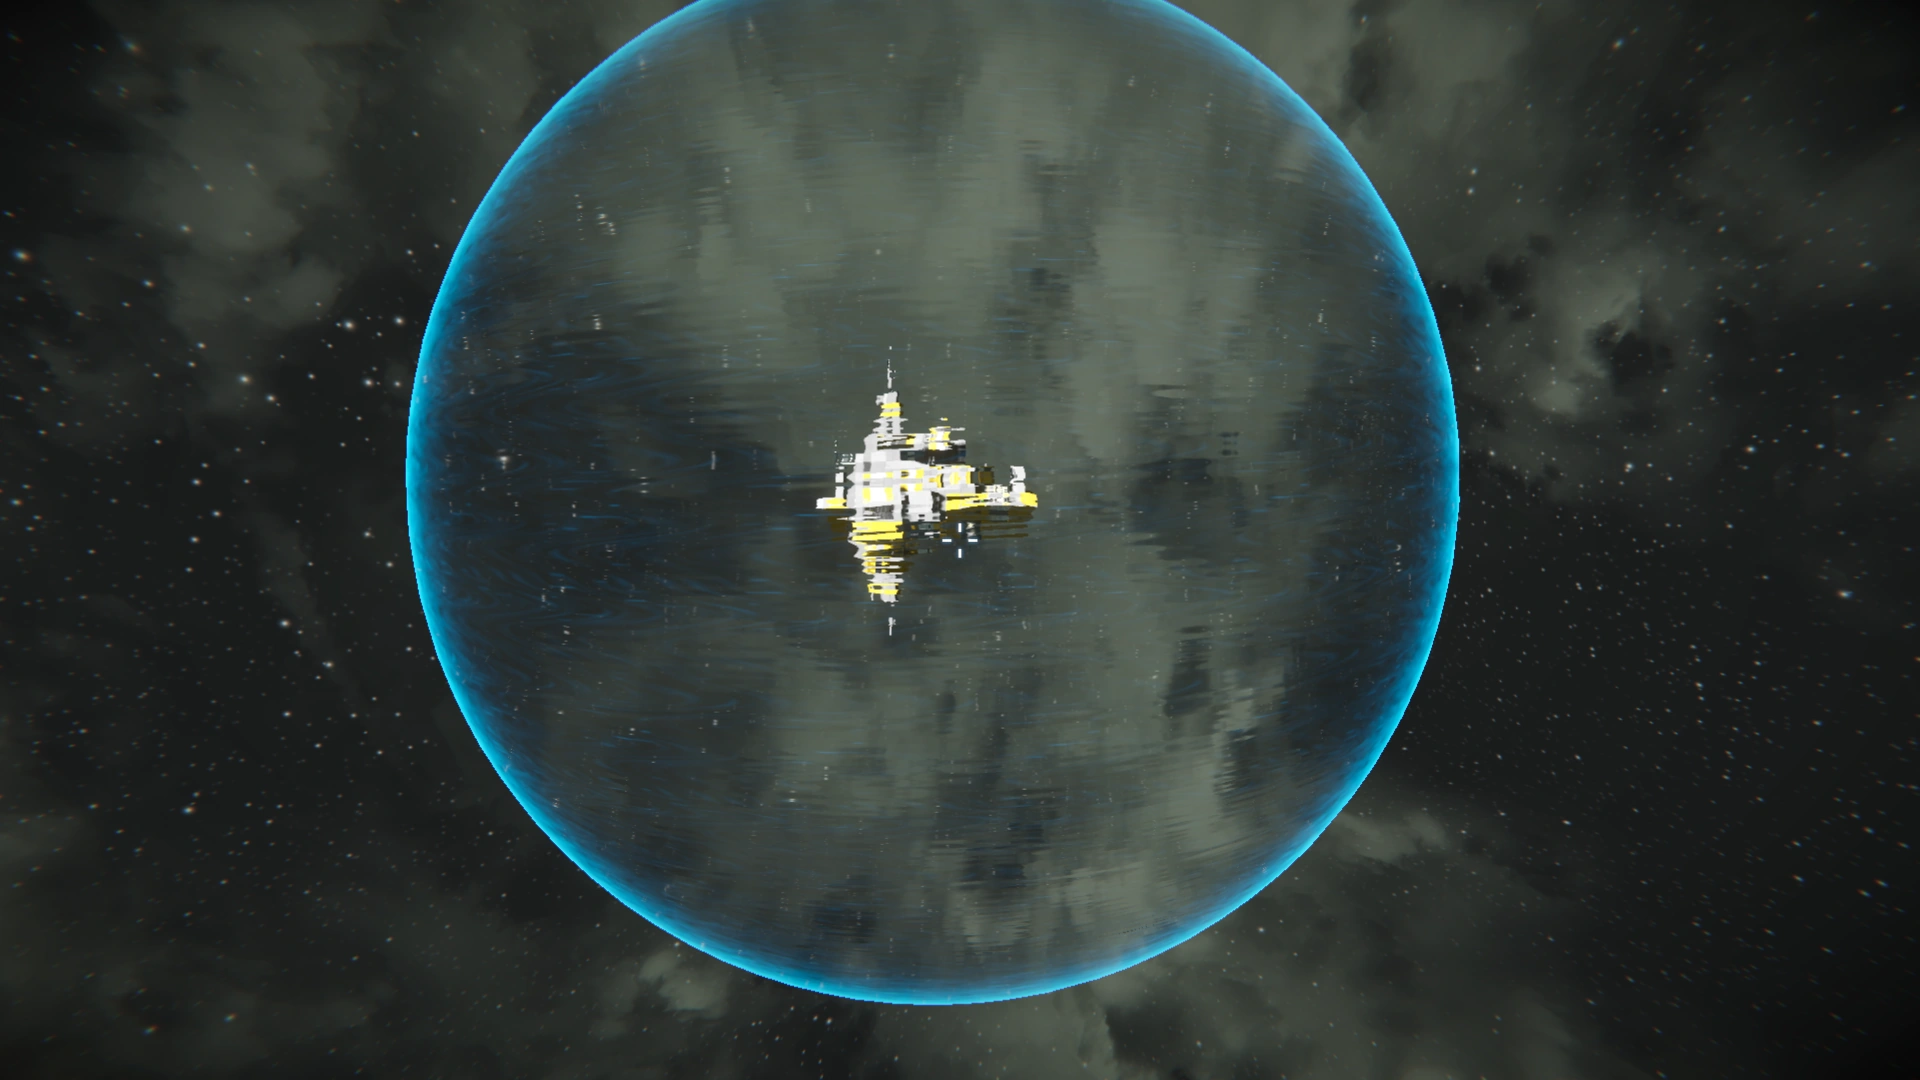
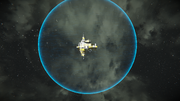
An NPC-owned space station in its fully visible spherical Safe Zone
Best Practices[]
The upkeep costs are steep in Survival. If you leave the Safe Zone permanently active, you will run out of zone chips fast. The force field takes 120 secs to power up, so you cannot use it as a quick one-off defense, either. Devise ways to only switch on the safe zone in cases of emergency, for example, only run it when no defenders are at the base.
To limit attack vectors, build the Safe Zone block on its own static grid that has a separate power supply and is not connected to your outwards facing conveyor system!
In PvP multiplayer, be explicit whom and what you allow in.
- Select the Whitelist filter and click Add Contained to quickly add all players, grids, and blocks that are currently present in the zone to the allowed list.
- Maintain a proper whitelist and don’t just allow in every grid that’s shared with the faction.
- Manually add other faction-shared grids and new members.
- Remove lost or missing ships and members who have left.
Consider that a hostile player can easily capture (using maglocks) a faction-shared grid (or wreck!) outside your safe zone. You do not want such lost grids to be automatically allowed into your force field and pose a Trojan Horse-like security risk.
If you offer Connectors for visitors, remember to configure Trade Mode and Auto-Unlock options on them.
If you want to offer contracts in multiplayer, use a Safe Zone to help protect your trade post from hostile players.
- Allow allied and neutral players to enter to reach the Store or Contracts blocks.
- Don’t allow non-faction members to use weapons and tools inside.
- Don’t allow grinding and welding to outsiders because that opens your safe zone up to being hacked.
- If the target of a repair contract is inside the safe zone, you must allow visitors to use a welder and build projections. (Not safe on PvP Servers.)
On multiplayers servers, players sometimes take temporary shelter in the weapon-free safe zones around Trading Outposts.
Trivia[]
You can use a safe zone force field as a visual building guide[2] in Survival Mode, for example, to measure a radius or to build something spherical.
If you are about to crash near an NPC outpost in survival and can still aim your fall, try to crash inside the force field, because collision damage is turned off inside NPC safe zones. That may give you a second chance to survive and recover your ship. You'll have to get your ship outside the force field to be able to make repairs because using tools is not allowed inside.
Force Field Texture (DLC)[]
Several special force field textures are available as part of the paid Economy Deluxe DLC. They give no gameplay advantage and are purely aesthetic.
You can choose from the following textures:
- Select a force field colour.
- Select a force field texture:
- Default (hexagon grid)
- Aura (swirly)
- Organic (irregular concentric circles)
- Rain (falling drops)
- Dots (regularly spaced square dots)
- Disco (discoball-like tiles)
- Noise (irregular gradients)
- Hexagon (hexagons with gaps)
- Lines (latitudinal lines)
- Digital (matrix-like numbers)
- Gloura (pixie dust)
- Clang (cartoonish text and symbols)
- Voronoi (cell tesselation pattern)
- Restricted ("police, do not cross, crime scene")
- Keen Softwarehouse logo